


If something doesn’t seem right, it can send an alert.1 And help you find a qualified pro.2
(Pro support available in eligible regions)
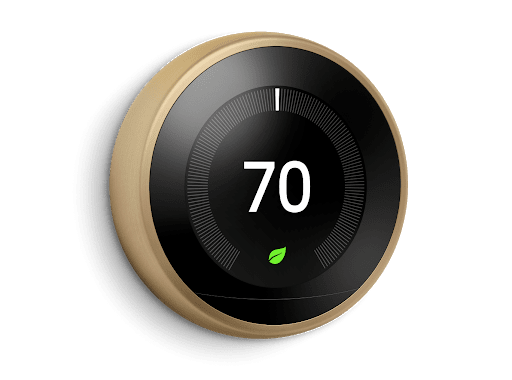
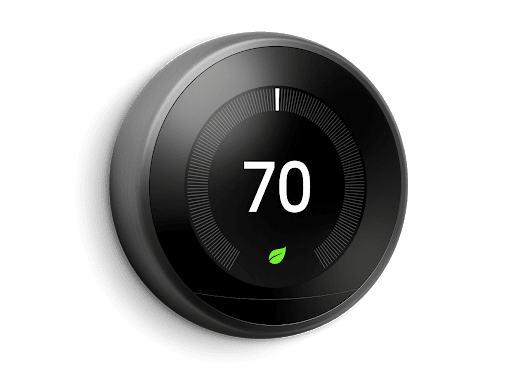
Nest Learning Thermostat
Save with rebates and rewards from your energy provider. View offers
is a beautiful thing.
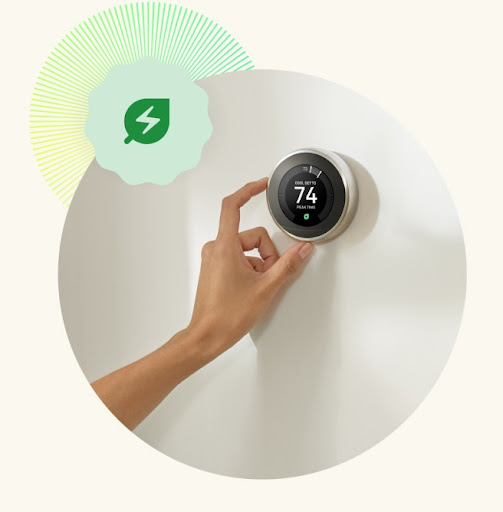
Advanced comfort, tailored to your home.
Energy rebates
Save up to with a rebate from your energy provider.
Just enter your zip code, select an offer, and follow the steps outlined by your energy provider.
Here to help you save.
Proven energy savings.
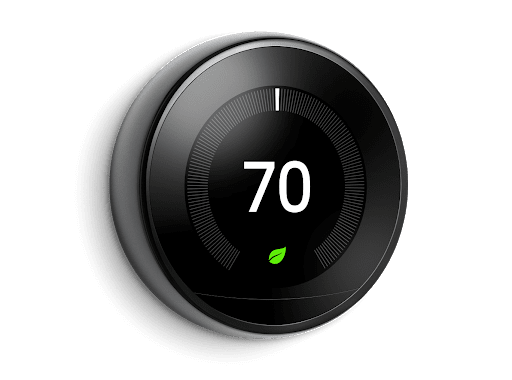
Follow the Leaf.
Save at home and away.
See how much you saved.
Proven energy savings.
Follow the Leaf.
Save at home and away.
See how much you saved.
With a Nest thermostat, people can also track how much energy they use every day and see how they can use less.
Since 2011, Nest thermostats have saved
kWh of energy
Meet the Nest Temperature Sensor.
Most homes aren’t the same temperature in every room. With the Nest Temperature Sensor, you can let your Nest Learning Thermostat know which room should be a certain temperature at a certain time of day. Just put it on a wall or shelf in a room that matters most, like the living room or baby’s room. And get the right temperature, right where you want (sold separately).
Programs itself.
The Nest Learning Thermostat automatically adapts as your life and the seasons change. Just use it for a week and it programs itself.
Designed to install yourself.
Easy to install.
It’s easy to install the Nest Learning Thermostat. Everything you need comes in the box. And it’s quick – most people install it in 60 minutes or less.
Need a hand? Book a pro during checkout.3
Google now makes it simple to purchase your device with professional installation. Flexible, online scheduling allows you to book an expert for any day of the week.
Already have a Nest Learning Thermostat?
Prioritize using cleaner or less expensive energy.
Nest Renew is free to join and simple to get started. Just a few taps during set-up and you can start supporting a clean energy future, right from home.

HVAC monitoring.
Nest helps make sure everything's running smoothly.1
Heating and cooling system alerts.
Helpful maintenance reminders.
Get helpful reminders, like when it’s time to replace your air filter.
Heating and cooling system alerts.
If something doesn’t seem right, it can send an alert.1 And help you find a qualified pro.2
(Pro support available in eligible regions)
(Pro support available in eligible regions)
Helpful maintenance reminders.
Get helpful reminders, like when it’s time to replace your air filter.
Thoughtfully designed.

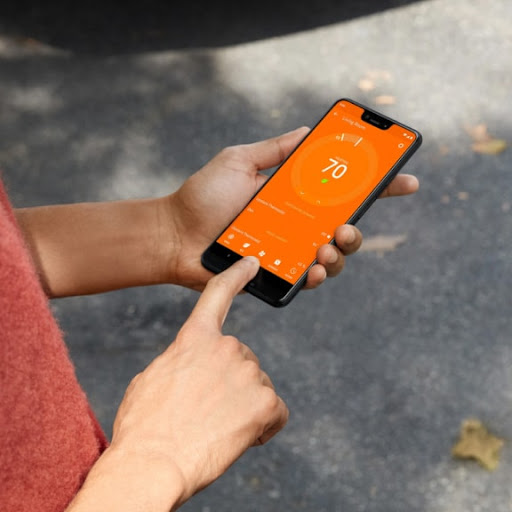
Control from anywhere.
With the Nest app, your thermostat lives on your wall and in your pocket. Once you connect your thermostat to Wi-Fi, you can control it from anywhere. Adjust the temperature from the app, and the Nest Learning Thermostat adjusts quickly back at home.


It lights up when you walk in the room.
When the Nest Learning Thermostat notices you’re there, Farsight shows you the temperature, weather or time. You can even choose a digital or analog clock face. Farsight is big and bright on the beautiful display — you can see it from across the room.

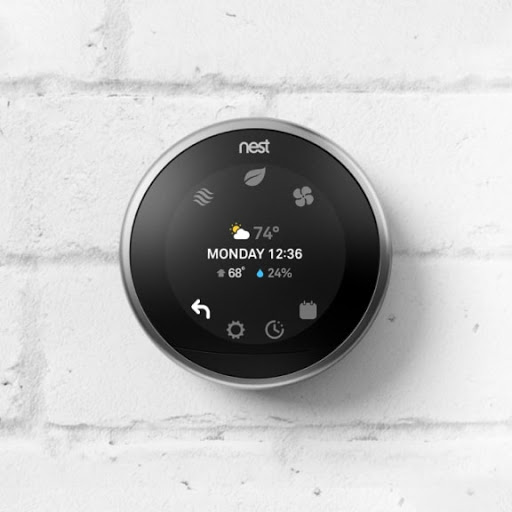
Quick view.
Press the display and turn the ring. You’ll see a summary of what your thermostat is up to and you can reach Settings, Energy History, or your schedule.
Control from anywhere.
With the Nest app, your thermostat lives on your wall and in your pocket. Once you connect your thermostat to Wi-Fi, you can control it from anywhere. Adjust the temperature from the app, and the Nest Learning Thermostat adjusts quickly back at home.
It lights up when you walk in the room.
When the Nest Learning Thermostat notices you’re there, Farsight shows you the temperature, weather or time. You can even choose a digital or analog clock face. Farsight is big and bright on the beautiful display — you can see it from across the room.
Quick view.
Press the display and turn the ring. You’ll see a summary of what your thermostat is up to and you can reach Settings, Energy History, or your schedule.
What Nest thermostat is right for
your home?
your home?
Advanced comfort and energy-savings.
Energy-saving essentials at a cozy price.
High-res, LCD display with dynamic screens
See weather, tempurature, or time from across the room and access settings quickly when you're close by
Crisp display with mirrored glass lens
Modern designMetal ring
Turn the dial and press down to adjust
Recycled plastic housing
Swipe and tap the side of the thermostat to adjust
Compatible in most homesWorks with 95% of systems
Works with 85% of systems
Some systems, including heating-only, cooling-only, zone-controlled, and heat pump systems require a Nest Power Connector or C wire
Works with the Nest Temperature Sensor (sold separately) to prioritize temperatures in specific rooms
-
Easy schedulingAutomatically creates a schedule by learning your routine and preferences
Manually set schedules in the Google Home app or Nest app
Guided schedule setup in the Google Home app
There’s a ring for every home.


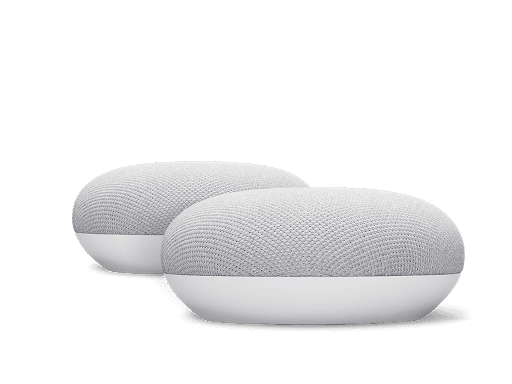
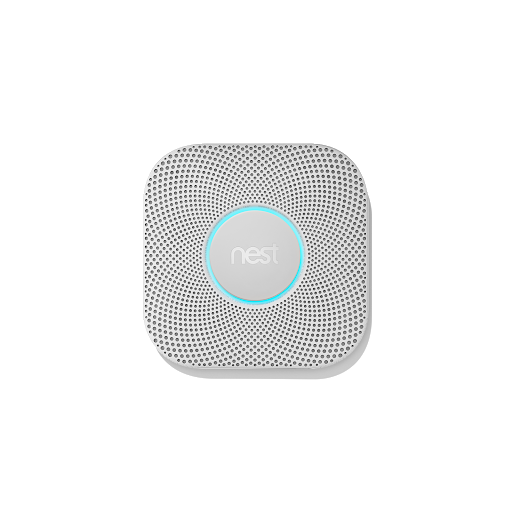
You may also be into

Our ambition
Making sustainable and
accessible products.
accessible products.
**
Rebates and rewards may be available. View offers
1
Alerts can notify you of a potential issue with an eligible HVAC system. They’re meant to provide helpful information, not an endorsement, representation, or warranty of any kind about the health of your HVAC system. Alerts aren’t intended to replace a diagnosis by a qualified HVAC professional.
2
Pro assistance is only available in eligible areas and is provided by Handy, an independent third-party platform that connects individuals to home services, including heating and cooling maintenance services.
3
Google does not perform your Pro installation and has no responsibility or liability for the installation. We partner with Handy and OnTech, who are independent of Google. Handy is a platform for home services that connects individuals to professional installation partners, including OnTech, who will install your Google Nest Products. The professional installer connected to you is not an employee, subcontractor, or agent of Google. For your convenience you can pay for your installation through Google Store, but Google accepts the payment on behalf of Handy, whose network of licensed installers perform the installation.
4
These energy savings are calculated based on the typical percentage of heating and cooling savings found in real-world studies of the Nest thermostats. To calculate the total savings, we apply these savings percentages to the actual heating and cooling hours of all Nest thermostats. Energy savings are an estimate, not a guarantee that any individual user will save energy.
5
Adjustments only shift electricity usage from your heating and cooling. Energy Shift is only available in areas served by major continental US grids, see here g.co/nest/repwr. Prioritize less expensive energy only available for customers on certain electric utility time-of-use rates (check availability).
6
Nest Renew is available in select locations and requires a 3rd generation Nest Learning Thermostat, Nest Thermostat E, or the new Nest Thermostat (sold separately), connected to a Google account.
7
Nest Renew requires 3rd generation Nest Learning Thermostat, Nest Thermostat E, or the newest Nest Thermostat, connected to a Google account (sold separately).
‡
Save $50 on Nest Learning Thermostat. Starts June 6, 2022 at 12:00 am PT and ends June 19, 2022 at 11:59pm PT, while supplies last and subject to availability. US residents only. Must be 18 years or older. Unless otherwise stated, offer cannot be combined with other offers and is not transferable. Purchase must be made on Google Store US. Not valid for cash or cash equivalent. Void where prohibited.